QR codes for Google reviews
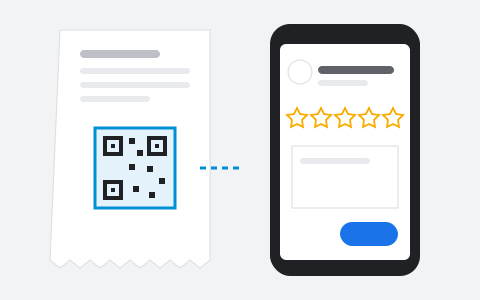
The customer has just paid, is happy, and has the phone in hand. A code on the receipt, the table or the door takes them straight to the review form, without searching for the venue on the map. The code is printed once. What opens when it is scanned, and on which platform, you change from the account, and every placement tells you how many scans it brought.
The setup, end to end
- Copy the review link from your Google Business Profile: under reviews, the option to ask for reviews gives a short link that opens the form directly. It appears only once the profile is verified. Set it as the code's destination.
- Make one code per placement: the receipt, the table, the door, the delivery box. Same destination, different source.
- After a week, see which placement brings scans. When you want another platform or a form of your own, change the destination and the printed codes stay.
Find the link in Google5 steps
Step 1 of 5
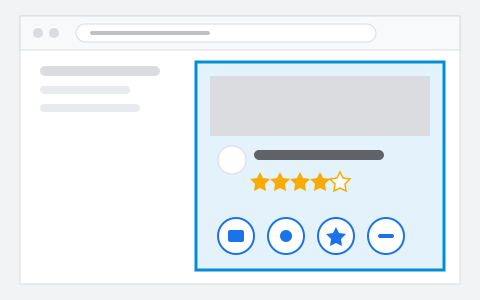
Open your Business Profile
Use a computer: Google's help page gives these steps for a browser, and makes its review QR code only there. Open your Business Profile while signed in to the Google account that manages it.
Step 2 of 5
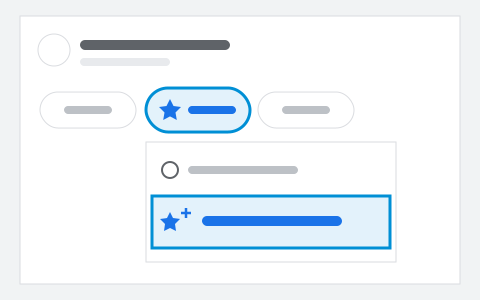
Open “Get more reviews”
Select “Read Reviews”, then “Get more reviews”. A panel opens with the review link, Google's own QR code and ways to share them.
Step 3 of 5
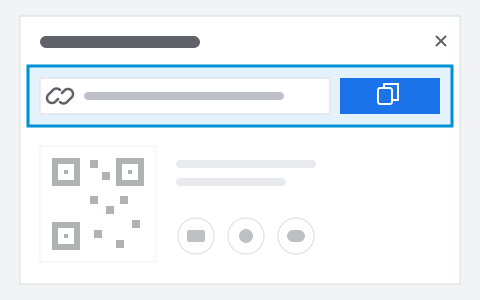
Copy the review link
In that panel, select “Copy”. Leave Google's QR code alone: its link is fixed in the pixels, and it cannot tell you which placement brought a scan.
Step 4 of 5
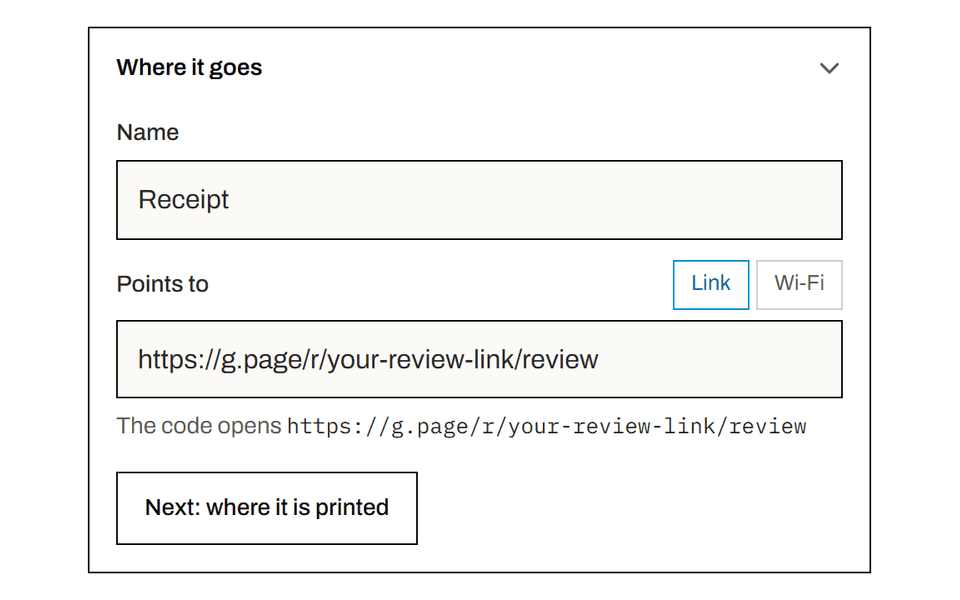
Paste it into QR Steady
Create a code, name it after the place it will be printed, and paste the link into “Points to”. You can change that destination later and every printed copy follows.
Step 5 of 5
Print one and scan it
Print a single copy at its real size, put it where it will stay and scan it with a phone camera. It should open your review form on Google. Then print the rest.
What the tagged link looks like
https://example.com/review?utm_source=receipt&utm_medium=qr&utm_campaign=reviewsAppended when the code is scanned rather than printed into the image, so the tags stay editable after the artwork is on paper. GA4 has no default channel rule for "qr", so these scans report as Unassigned. Add a custom channel group matching medium = qr to give it a name in your reports.
Show me how5 steps
Step 1 of 5
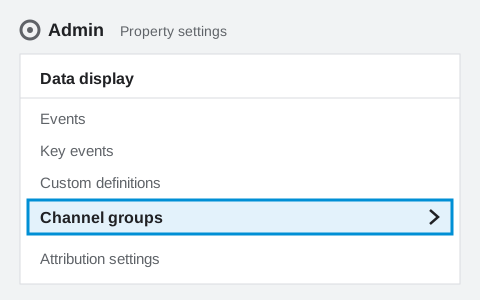
Open Channel groups
In GA4, click “Admin” (the gear, bottom left). Under “Data display”, open “Channel groups”. You need the Editor role or above.
Step 2 of 5
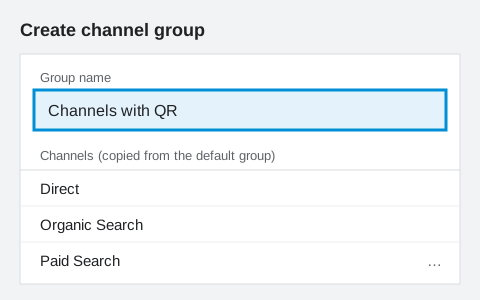
Create a group
Click “Create new channel group” and name it, for example “Channels with QR”. Your first custom group starts as a copy of GA4's default group. A standard property holds two custom groups, so if you already have two, add the channel to one of them instead.
Step 3 of 5
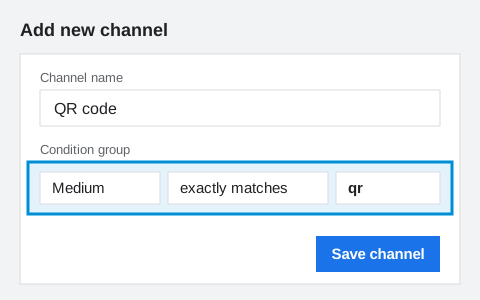
Add a QR channel
Click “Add new channel” and name it “QR code”. Click “Add condition group”, choose “Medium” and “exactly matches”, type qr, then click “Save channel”.
Step 4 of 5
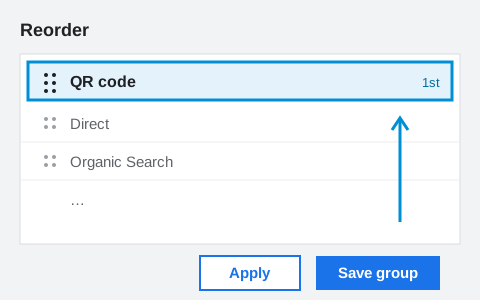
Move it to the top, then save
A new channel lands at the bottom, and GA4 files a session under the first channel that matches. Click “Reorder”, drag “QR code” to the top, click “Apply”, then “Save group”.
Step 5 of 5
Read it in your reports
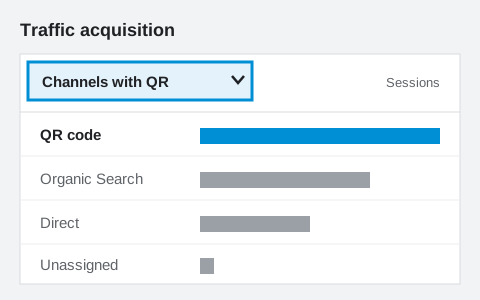
Open “Reports”, then “Acquisition”, then “Traffic acquisition”. In the table's dimension menu, pick your group. GA4 may list it as “Session custom channel group” rather than by its name. The group applies to past data too.
What goes wrong here
The code sits on the table for years and the destination does not. The venue wants Google now, a form of its own after the menu changes, another platform in tourist season, or a new address when the profile moves. A static code holds the first address in its pixels for good. Here you change the destination in the account, and every code already printed follows.
What it costs
- Live codes
- 3 free, unlimited on Pro
- Scans
- Never capped, any plan
- History
- 7 days free
- Expiry
- None, including after you stop paying
On a receipt, a table and a door
On the receipt, in the footer, if the register's software allows an image there: small is fine, the customer is holding it. On the table, beside the menu code, with its own source so the table and the door read separately. On the door at eye height, on the way out, and on the delivery box, for the customer who ate at home.
A common starting point is a code about a tenth as wide as the distance it will be read from. Print one at that size, scan it with the oldest phone you can find, and adjust. No table can answer this for your paper and your lighting.
Show me how to size it5 steps
Step 1 of 5
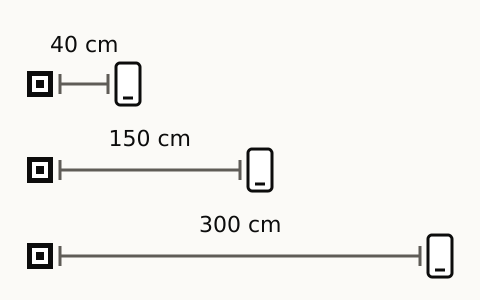
Find the scanning distance
Stand where somebody will stand to scan it, and measure to where the code will be. A table tent or a business card is read from arm's length, a window poster from the pavement, a car from the pavement or the car behind.
Step 2 of 5
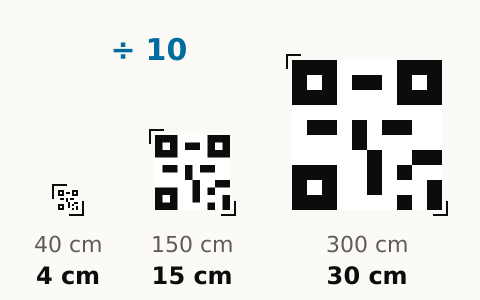
Make it about a tenth of that distance
A common starting point is a code about a tenth as wide as the distance it is read from. From forty centimetres that is about four, from three metres about thirty. Keep a clear white margin around it.
Step 3 of 5
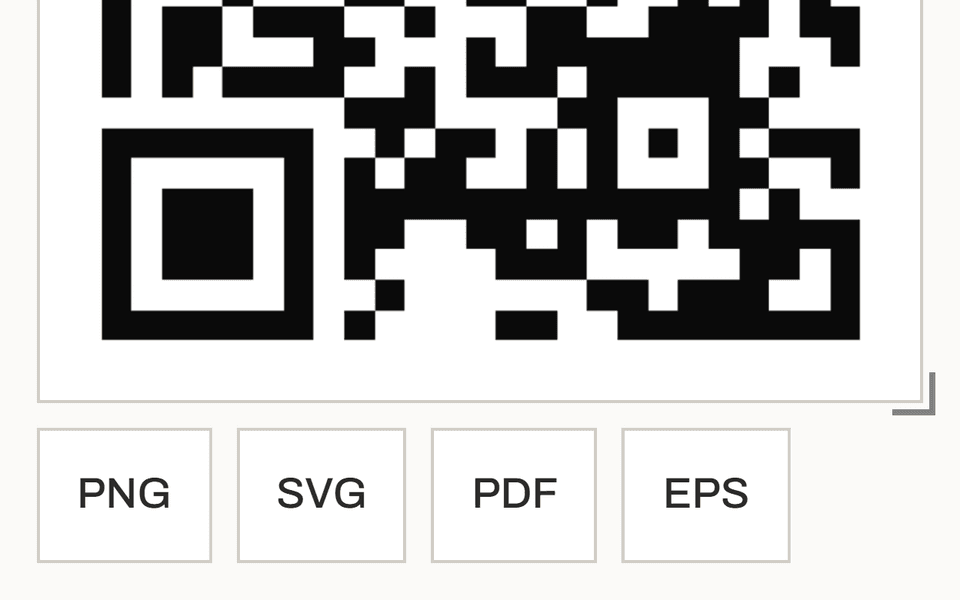
Download the file that fits the size
For a flyer, a card or a table tent, the PNG is enough. For a poster or a car, take the SVG or the PDF, which stay sharp at any size. On a Free account the code's page offers the PNG; SVG, PDF and EPS come with Pro.
Step 4 of 5
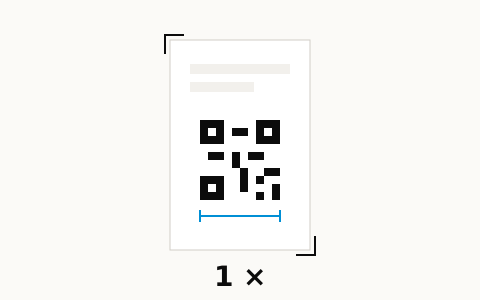
Print one proof
Print a single copy at that size, on the paper or vinyl the run will use. Matt stock scans better than gloss, and a fold or a foil finish across the code can stop it scanning.
Step 5 of 5
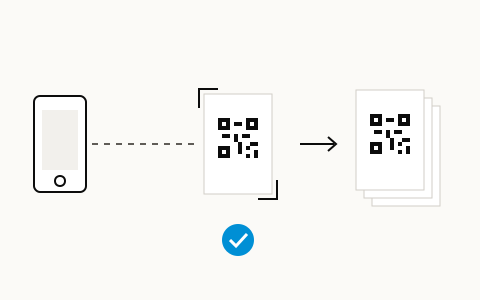
Scan it from the real distance, then print the run
Stand at the distance from step 1 and scan the proof with the oldest phone you can find, in the light it will hang in. If it hesitates, make the code larger and print another proof. When it scans at once, print the run.
Google's rule, so you keep the reviews
Google forbids asking for reviews selectively and discouraging negative ones: you cannot send happy customers to Google and unhappy ones to a private form, and you cannot offer a discount for a review. The code here takes everyone to the same place; what you change is the place, over time, never the customer. The rule is theirs, so check it on their page before you print.
Google's policy on user-contributed contentNo card. Nothing you print here stops working.